We are all familiar with how play dough has captivated children of all ages! They are fabulous for fun and learning! Here are 5 ways how it helps your child to develop!
1. Fine motor skills
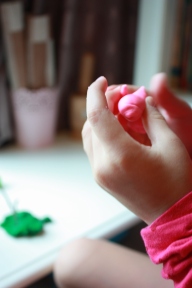
Play dough is ideal for building the tiny motor skills through your child manipulating the malleable material by rolling, pressing, pinching, chopping, shredding and much more!
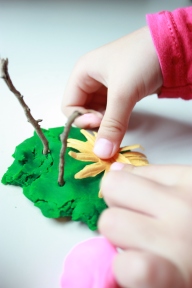
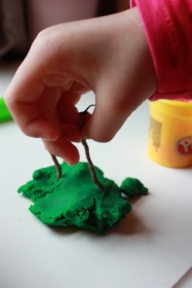
Poking in objects into the play dough requires focus and coordination.
2. Develops creativity and imagination
Play dough provides endless possibilities for imaginative play and can represent anything in the mind of a child!
3. Great for building Cognitive skills!
Using play dough with letter shapes us great for letter recognition, and inserting small objects like buttons into play dough can be used for counting! Children can use the play dough to compare sizes, length and thickness. They can roll little balls and learn one to one correspondence, and even addition. They can also sort the balls by colour! iThe choices for learning are limitless!
4. Making Play dough- Great for Science concepts!
When you make play dough with your child, your child gets to be amazed by the process of mixing different ingredients into something gooey, and sticky! They learn to use their senses to learn about texture, and see the process of transformation of different materials!
5. Great for Language Development
Pretend play with play dough contributes greatly to your child’s language play. Interacting with play dough, your child taps on her imagination and comes up with play scripts, where she conceives ideas for a social scenario, and uses her vocabulary and functional language to verbalise and ‘act out’ her ideas. She engages herself in social dialogues and learn to think of solutions to problem-solve.
Our Fairy Dust Play Dough Setup
My little darling has been preoccupied with the theme of fairies in the woods, their magical journeys and fantasies of adventure and wonder.
To encourage creativity, I like to use open-ended materials for her to tap on her imagination and encourage originality.
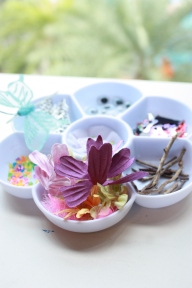
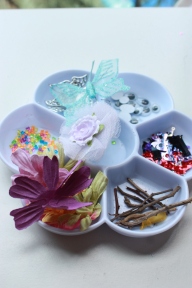
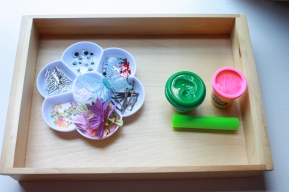
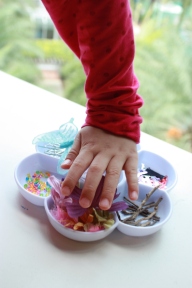
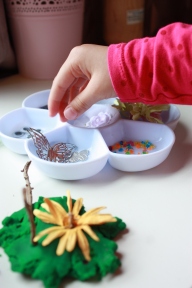
This thematic fairy-dust playdoh set is easy to set up! And is perfect for a whole afternoon of make-believe and pretend play!
Presenting the materials on a tray is like an invitation to play! which no child can resist!
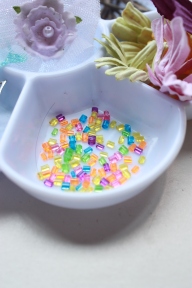
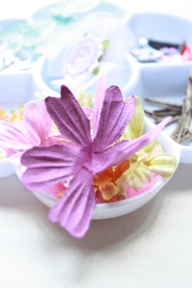
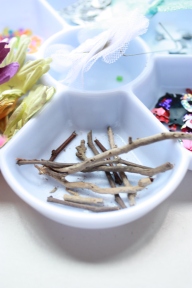
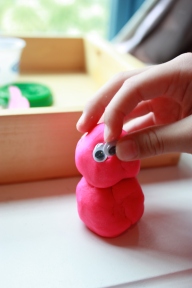
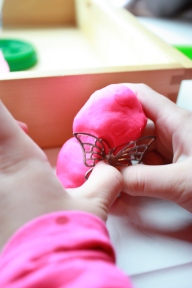
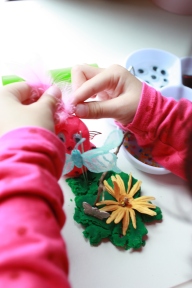
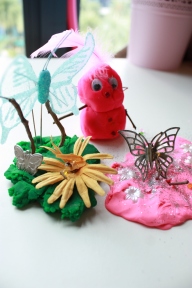
My little one immediately was captivated by the myriad of materials, and started coming up with her ideas as to how to use the materials. As she picks out the different materials, she used adjectives to describe the twigs and the paper flowers. She also started coming up with incredulous ideas about how a fairy has wings, and was playing in the Pixie Garden. To make the fairy, she had to first used her palm to roll the play dough, and then estimate how to make a big and smaller ball. To join the parts together, I suggested to her using a sharp long object, and she immediately picked out the twig. To create the wings, she selected the angel wing embellishment and pressed it hard to make it stay. Using the eyes and twigs as hands, she completed the look of her little make-believe fairy!
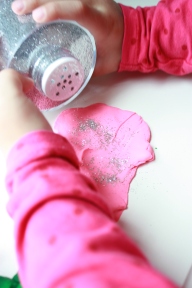
Next, to create the setting for the main character, she decided to make a garden! She stayed on task for a prolonged period of time trying to actualise her ideas for the garden! She flattened the dough to create grass and ground for the fairy to stand on. Then she inserted flowers and twigs to make it natural looking. She also added in little garden creatures like butterflies and worms. This was a great opportunity for me to use thematic vocabulary like different garden animals! To complete the garden look, she started referring to Tinklebelle story about pixie dust. She then sprinkled some glitter into the play dough and the wonder happened!
Look at her little Fairy Garden with her Fairy! I love how this process of creating art and actualising her ideas!
The process of creation far supersedes the finished product!

